

When rescue cat Murphy moved into his suburban home in Melbourne’s north some six years ago, it wasn’t long before he discovered the joy of scratching… the family’s couch, to be precise.
Murphy’s family promptly covered the arms and legs of their couch with adhesive tape and started eying off expensive cat towers.
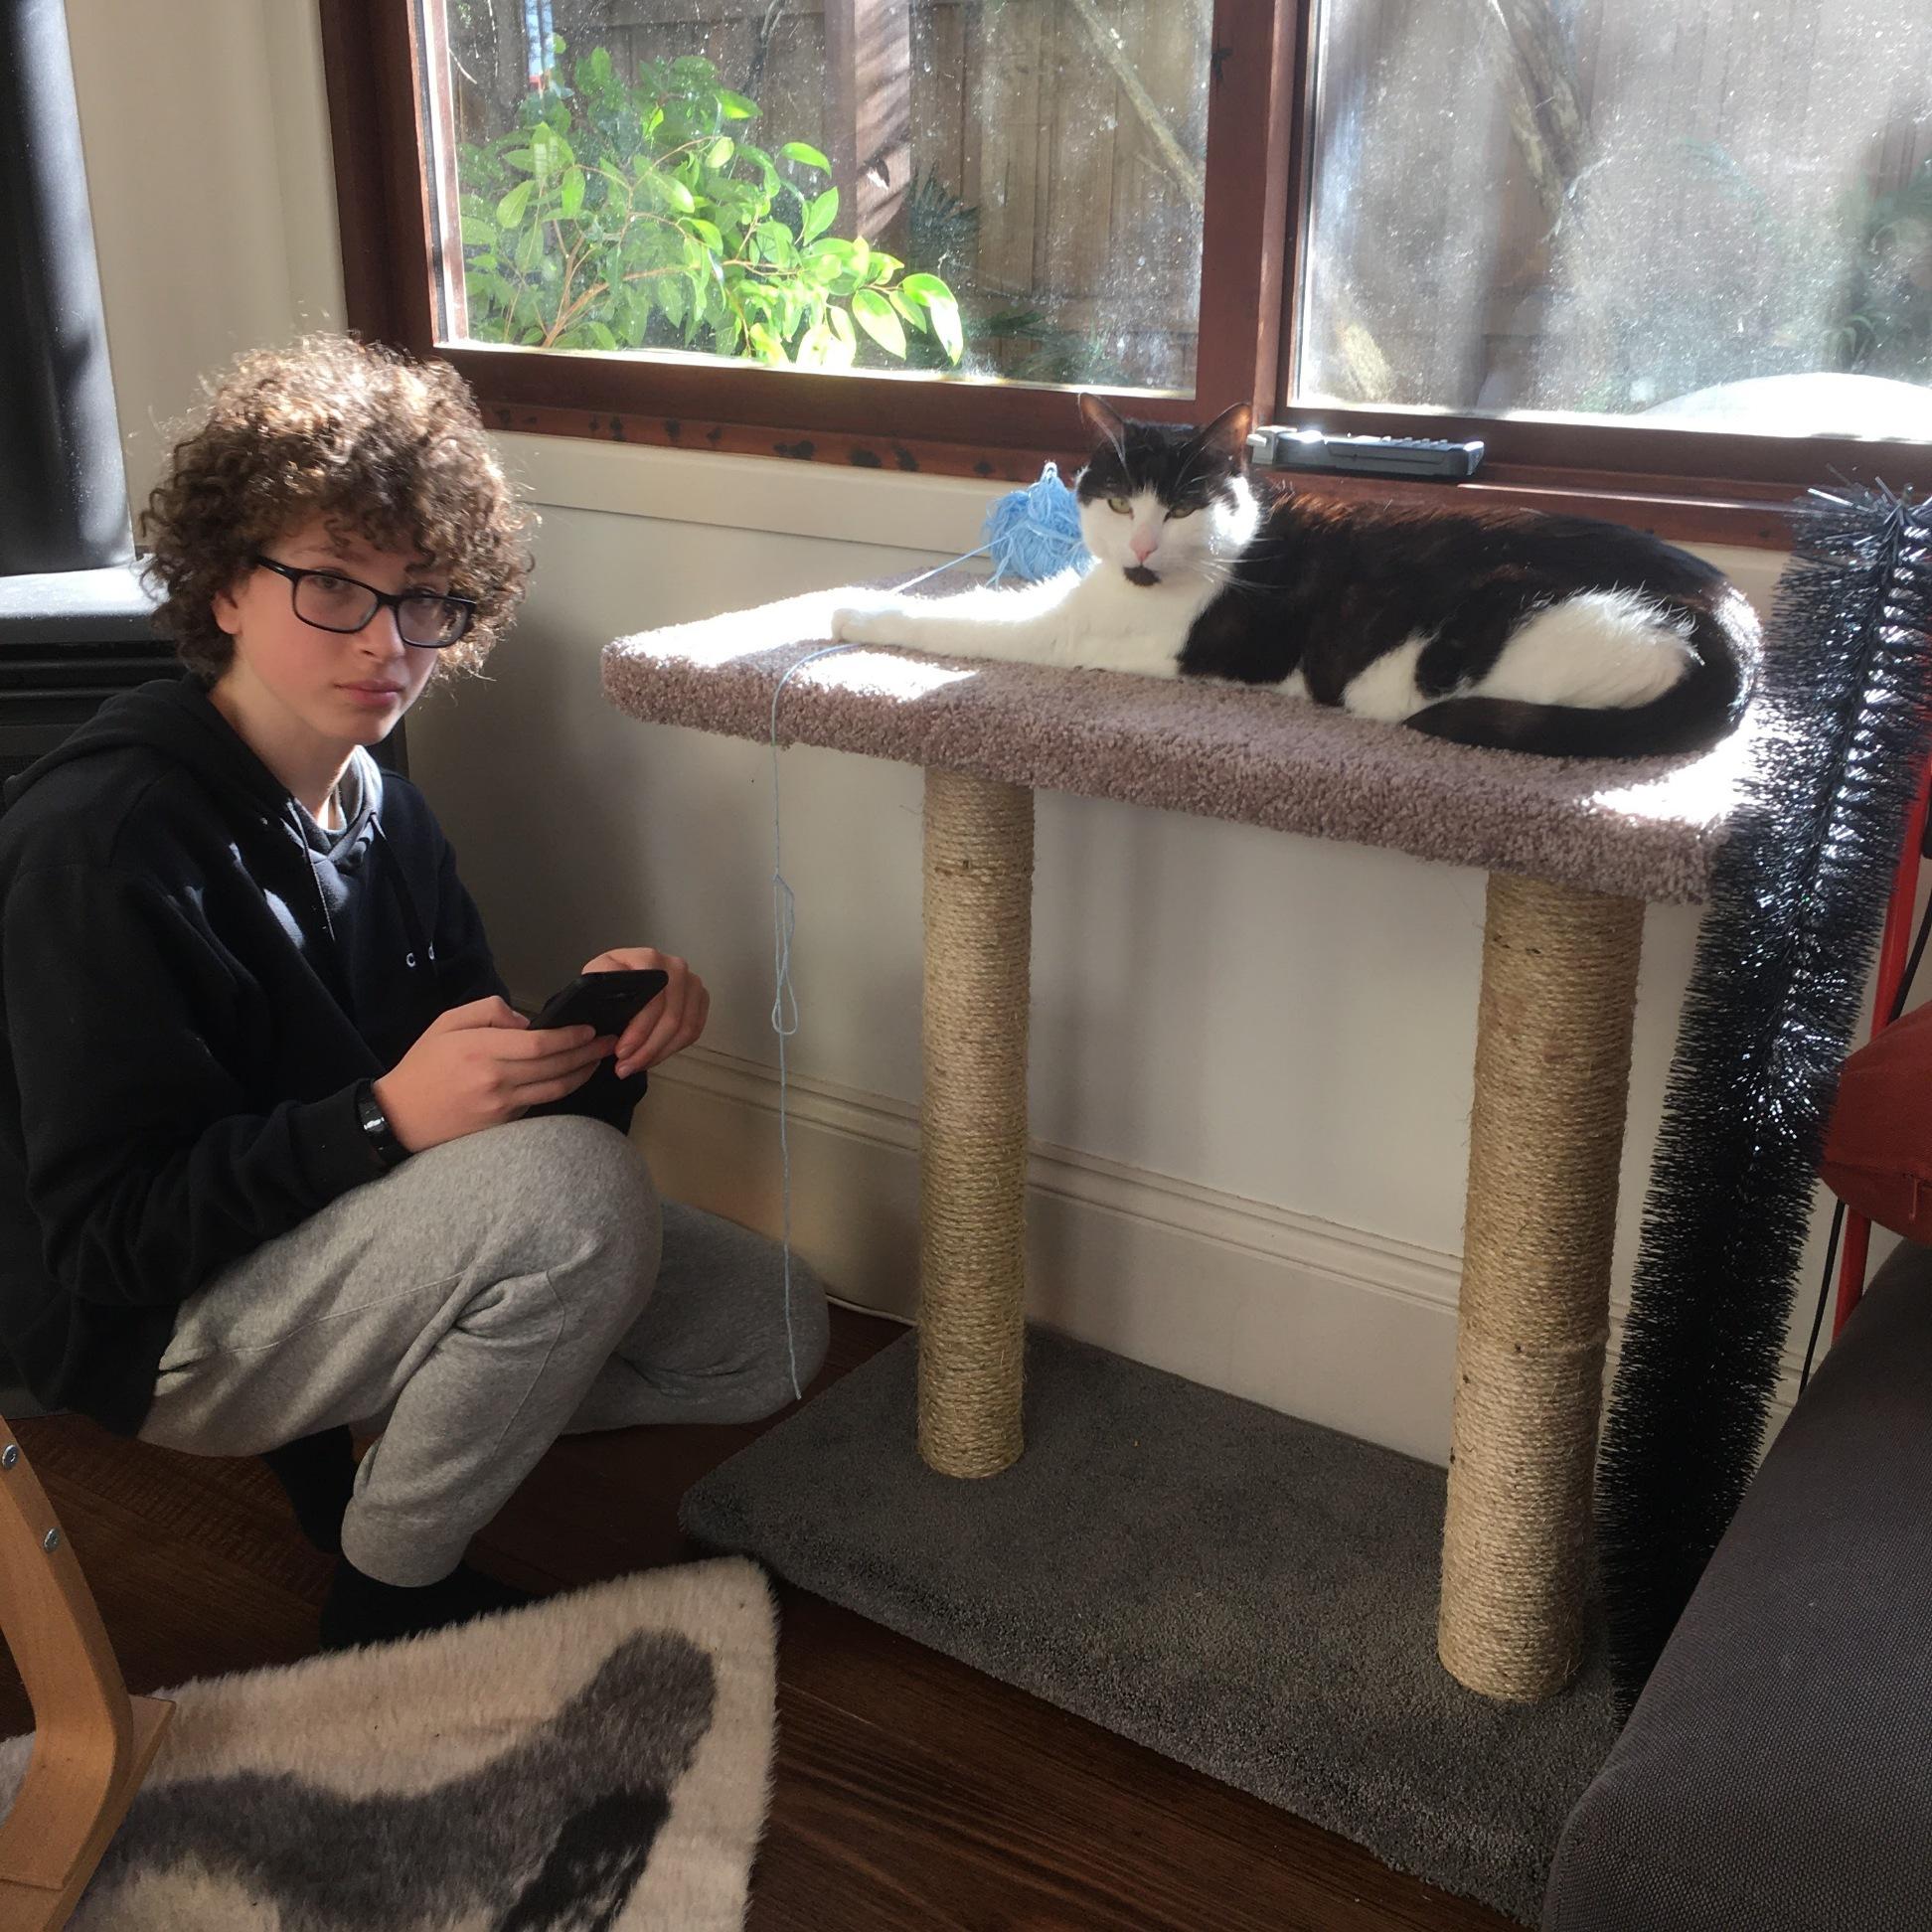
However, Murphy’s dad and DIY handyman Jon Cina says the 2020 lockdown provided the perfect opportunity for him and his teenage son Joe to build their own instead.
“We were buying cat food and we walked past a three-storey fully carpeted tower,” Jon tells Paws N’ All.
“Nicki (my wife) had said they were pretty good, but she reckoned we could make one ourselves – that it’d be a great challenge.”
Challenge accepted: A DIY cat scratching post
Thus, the gauntlet was thrown down.
Jon says the project was a bit fiddly, but those with some DIY experience could do it by themselves with the right tools and supplies.
Of course, an extra pair of hands always comes in handy.
“It was a nice project,” he says.
“We did the whole thing from go to woah in a day.”
Jon also wanted to stress that the project can be made sustainably by scavenging bits and pieces from friend’s left-over building projects or community web pages like freecycle.
Here’s how Jon and Joe built Murphy’s new favourite scratching post – and you can too:
For this DIY cat scratching post, you’ll need:
- two flat pieces of timber for the top and bottom and two pieces you can use for the vertical posts. Jon used pieces about 80 x 40cm for the top and bottom planks and about 70cm high for the upright posts
- two lengths of builder’s piping, the same size as the timber posts
- Liquid nails glue
- 4x Hex screws
- Battery/electric screwdriver
- enough Sisal rope to wrap around the two pieces of pipe
- Carpet offcuts (available at carpet stores if you don’t have any at home)
Step 1: Attach the carpet
Start by attaching your carpet offcuts to the top and bottom planks.
Jon explains that fully encasing the planks with carpet is a bit like wrapping a present.
“We put a thick layer of glue between the carpet and wood. The carpet has to bend over two edges,” he says.
“To ensure a close fitting, we used a staple gun and bent each of the four sides of carpet over the edge of the wood.”
Step 2: Attach the rope
This is the most time-consuming part of the project: attaching the rope to the pipes.
Jon says it was a painstaking exercise gluing about 15-20 centimetres of rope at a time, including an extra bead of glue to attach the underside and topsides of the rope to each other.
“But you want to make sure there’s no gaps between the rope and use something to push the rope down as you go,” he says.
“We ended up with a very solid rope column that’s supported by the pipe.”
Step 3: Attach the pipes
To assemble your DIY cat scratching post, you’ll need to drill two holes in the top and bottom pieces of timber and line them up with the posts that are inserted into the pipes.
Then fix Hex screws through the top and bottom timber and into the posts. come into play. Make sure you put each post inside a piece of the pipe before you screw the top and bottom timbers into the post.
Also, a spirit level will help to make sure everything’s nicely aligned.
“If the posts are not perpendicular, the thing is going to be squint and not good for cats because it won’t be level,” Jon explains.
“Use your levels to make sure.”
Step 4: Pick a great position
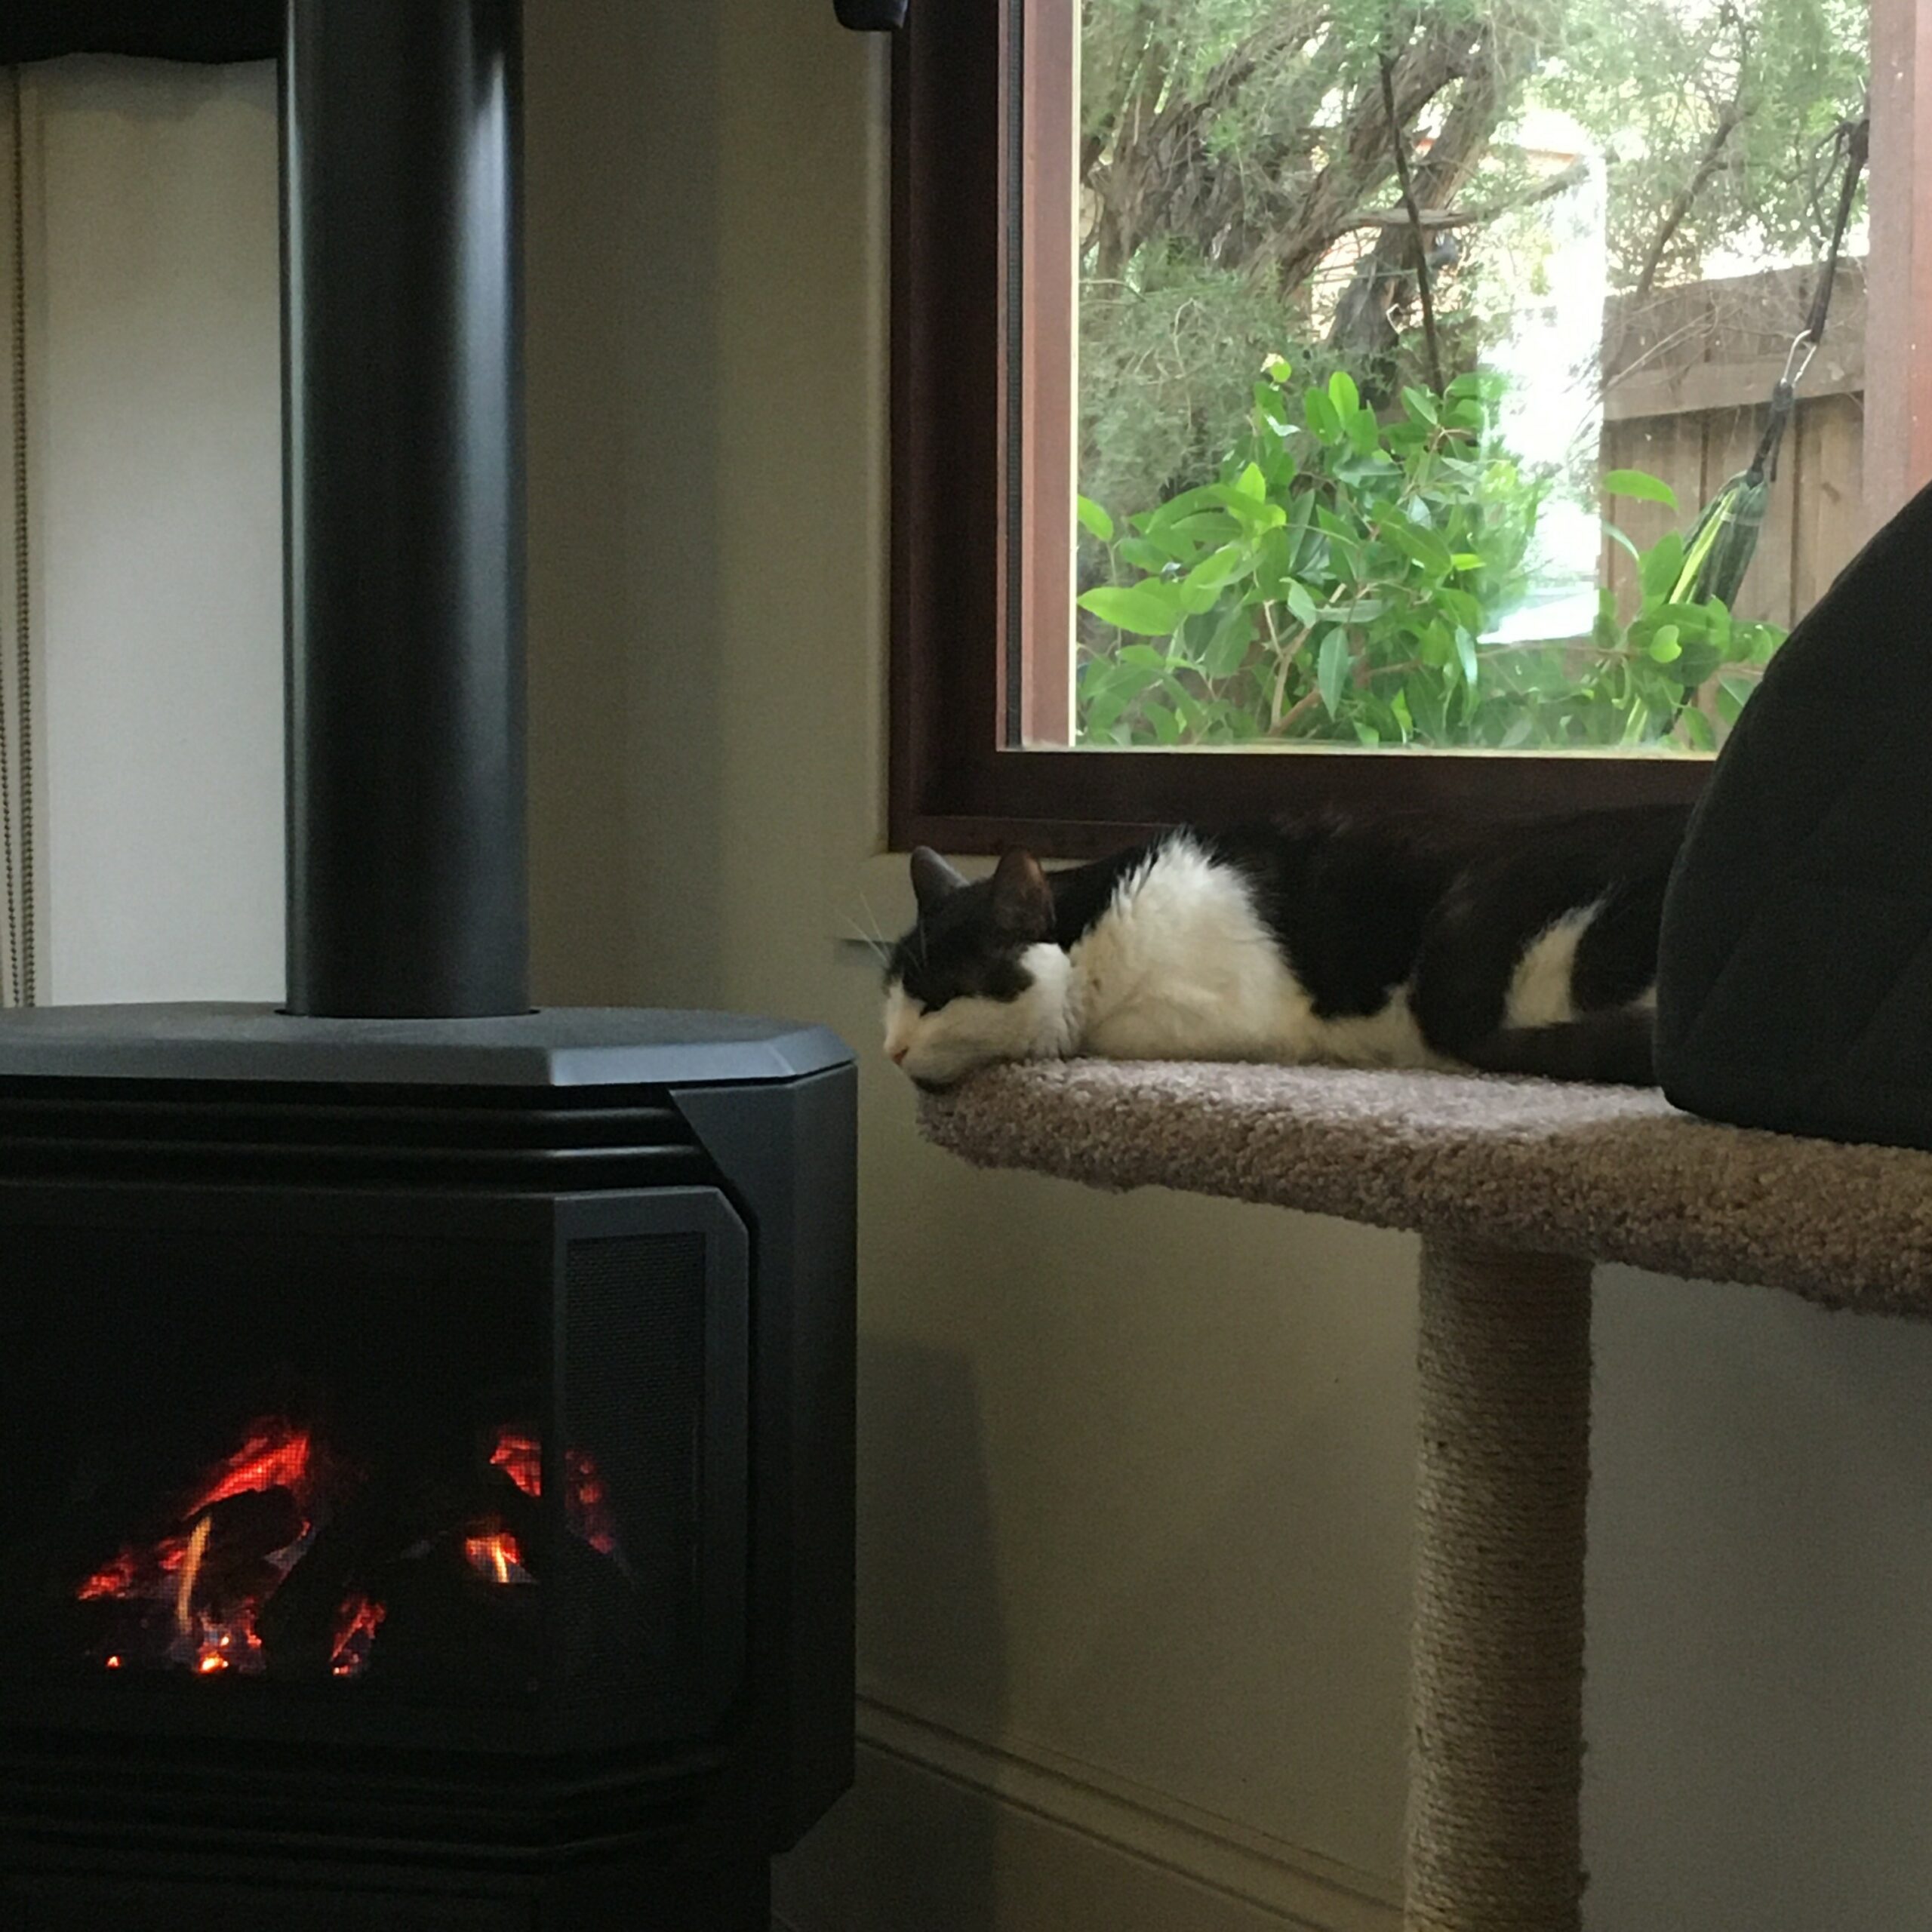
With your DIY cat scratching post now built, the final step is to put it somewhere your cat will use it!
Choose a location that captures some sun if possible, so your cat can soak in the rays. And it is best placed against a wall or something solid so that it won’t topple over.
Enjoy!